Wednesday, May 30, 2012

Matte and Gloss

HELLO AGAIN! :D :D :D

Wow. Matte is so awesome. I mean, I've never really worn a matte lacquer for long, thinking it'd get ruined and have dents and other unsightly things happen to it.
But I gave my last matte mani a chance and it went awesome.

After a couple of hours or so, I tried leaving a dent in it with my nails. Pushing slightly hard, I imagined it would ruin the whole thing but NO. It slowly raised itself back up and it was like I never dug my hands in it!

So awesome ... but mine chipped easily though .... (maybe because I washed my hands too much, what with all the baking me and my cousin did)

But actually, I'm starting to really dig matte nail polish (see what I did there? OMG I'M SO CORNY.)

Moving on .....


So I'm gonna be out for the next 6 days or so buuuuuut ... I have created several other posts that are scheduled to be published throughout the next week so It'll seem like I was never gone.

We're going on a tiny vacation and I want my nails to match every outfit I wear for the next couple of days since I'm not going to be able to change it until I get back home.

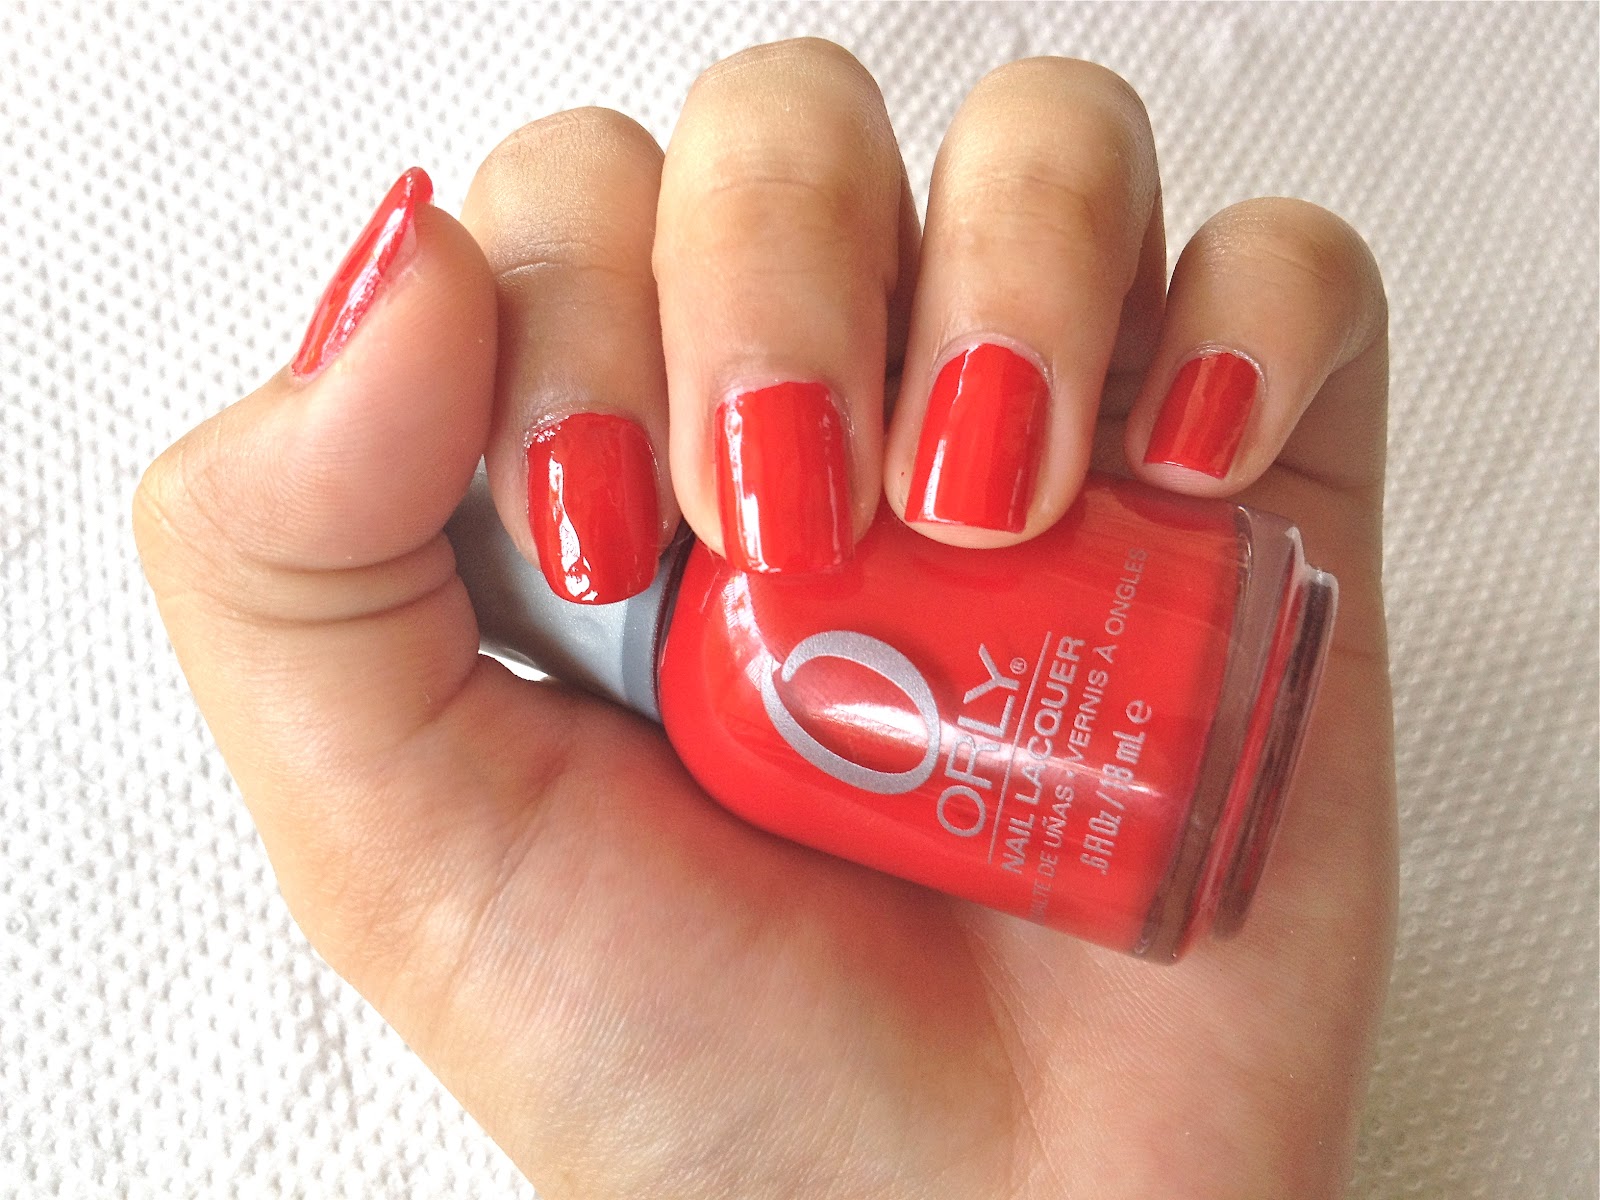
WHITE and BLACK. Sometimes RED and NUDE .... neutral colours -- Colours that go with anything you wear.

I don't really have a nude colour yet (I'm thinking of buying one from OPI when we go on vacation tomorrow). I don't really like white that much which leaves me two colours. Red and Black.

I have used red a couple of times already and I seriously miss wearing black polish (haven't worn it for the summer yet because it's SUMMER and black's just too dark for the season.

Anyway .... If you guessed black, then you're right. (YAYYEEE, A STAR FOR YOU ) haha


I love matte and I love black. I thought of how I was going to get the two together in one nail art without adding other colours and so.....

THIS POST WAS BOOORRN :D HAHA
It's going to be reaaaaaally easy. So easy that maybe some of you can do it with your eyes closed xD


So okay, back to business. Earlier today, I did a Black matte base with glossy stripes on top.
I loved it. Nail art without a hint of nail art .... unless it gets reflected by light.


You know what to do first :D Hahaha 

RETRIFETCH.
REmove nail polish
TRIm nails (optional)
File nails (optional)
ETCHetera ... like putting on your nail hardeners and cuticle oils.

RETRIFETCH. Don't forget.


Before anything else, here are the stuff I used:


L-R:
*02 Base Coat
*Face It Topcoat
*Striper (preferably, one with a long brush)


STEP 1. Apply your base coat.
Don't put on too much, as it won't dry that easily. Just put on enough to cover the whole nail.


STEP 2. Brush on your black nail polish.


Do one, two or three coats. Depending on how sheer or opaque you want it to be. I wanted mine to be really opaque so I did two. (It also depends on how thick your lacquer is.)


STEP 3. Brush on your Matte top coat.


It's going to start looking really weird but be patient and let it work its magic.


I know you can't see what's going on that much but after a couple of minutes, it'll look a bit like this. 


STEP 4. Draw stripes on your nails.

Using your striper, draw straight diagonal lines on your nails by dipping it on some glossy top coat or some black nail polish. (I used glossy top coat because it really shines and stands out when your nails get hit by light.)

You can do little or several lines, thick or thin. It's all up to you.


STEP 5. DO NOT APPLY ANY MORE TOP COAT OF WHATSOEVER and enjoy your Matte and Glossy nails :D
[Click to enlarge image]


I absolutely love it. It's like wearing plain black polish, then BAAYUM! There's gloss! HAHAHA


Thank you for reading :D

 Check back on June 3 at 4:00 in the afternoon for a new post <3


Shoutout to NICOLE ALEXI RASONABE AND JASPER MARY PASCUA :D
THANK YOU <3

Sunday, May 27, 2012

Matte Vintage Rose Nail Art

HALLO! :D
HAHAHAHA.

Yesterday, I did my cousin's nails and I ruined my Strawberry Nail Art xD After that, I went through Cath Kidston's website and found this pretty, pretty fabric. So, I decided to use the fabric as inspiration for yet another nail art :D

Alllllrighty ... here are the stuff I used:


[I'm sorry about some of the products that I didn't put a link to. They weren't available in the site catalogue. All the rest in pink is clickable. It'll take you to a product description page.]

L-R:

*02 (Base Coat)
*Etude PK002


Before anything else, I would seriously like to say sorry. I did this nail art with the company of my cousin (She's 9 :D) and I forgot to take pictures because we were chatting and I got distracted LOL xD ... 
Which is why I decided to show you guys how to do this nail art on a piece of paper. 

Now, I would have done it on my nail wheel but it was too messy and I didn't want to clean it with nail polish remover because I was afraid I'd ruin my nails. I would have also done it on my fake nails but I didn't have clay or something to hold it down to. Doing it there would be hard considering it'd crawl all over the place when you brush.

So, I'm asking you to put your imagination to work and visualize me working on a nail instead of this dull sheet of paper.


Moving on ... (again, I'm sorry xD)


Soooo ... you know what to do first. Clean your nails, trim, file, bla bla bla XD 


Brush on a generous amount of base coat and then apply your base colour, which in my case, is a very light shade of pink <3.


Then, you can either:
a.) dot on random circles of a darker shade of pink for your roses

The pink nail polish kinda looks peachy here xD

or

b.) just brush some on right from the bottle.


I suggest you go for B. It'd save you some time and effort, plus, the roses come out nicer that way.


When you're done, it should look a bit like this. (It doesn't have to look exactly like below but ... you get my point)


And then, with the smallest tip of your dotting tool, pick up some red polish and create several "("s and ")"s all over the roses. It doesn't necessarily have to look like parentheses. This will serve as highlights and it's going to make your circles look a bit more like roses xD


Then, using the bigger tip of your dotting tool, take some of your green polish and dab leaf-like shapes around your roses which, obviously, will serve as your leaves.

Clean your dotting tool first, making sure none of the red or pink colours get mixed with the green, or else, it's going to look messy
That's what happened in this demo. (I didn't put much effort because .... well, I did it on a sheet of paper xD)


Brush on some of your Matte Top Coat to get that non-glossy, yet vintage feel.


I know you can't see the difference between glossy top coat and matte top coat by just looking at what I did on the paper which is why I'm going to show you what this .......


does to colours ... not only on your nails but in most other things.


See this poor leaf I used for this demo? 


You can obviously tell that one side (Left) is glossy and the other (right) doesn't give off any shine.

I swear I didn't put any glossy top coat on the left side of the leaf. That's its natural colour and shine. 
But, I did brush on some Matte Top Coat on the right half of this leaf. 
As you can tell, the colour has faded a bit and there is no shine to it.


I think that Matte colours are soooo classy and pretty.


Here, my friends, is what I have accomplished after what is (surprisingly) a not-that-messy fifteen minutes of work.

Sorry about all the nail polish on my cuticles.
I'm not exactly a master at brushing on my base colours.

Yes, this plant is where I got the leaf from. It's also the same plant I took pictures of in my second blog post. You can tell how tiny the leaf is xD
I don't know why I had the urge to hold the plant but I did .... and it hurt .... with all its tiny tiny tiny thorns TT___TT


I was only going to paint the roses on my Index and Ring fingers and use the rest for cute brown polka dots for contrast. Buuuut ..... I got lazy because going with polka dots would mean I'd have to get my Stamping Nail Art kit out and brushing and stamping and cleaning ......... got tired. 

Yes, I could have just put on tiny dots on my nails with my dotting tool but, I didn't want to settle with anything less than perfect considering I have my stamping kit and all....
And no, painting the roses on all ten nails was not much more work to do than stamping on polka dots because I found it fun and it saved time, nail polish remover and bla bla .... plus, it's really easy sooooo ...
GO AHEAD AND TRY IT <3


Well, that is all for today my dear readers.
Check back for mooore :D

.....soon HAHA


Thursday, May 24, 2012

What Dolly gave me on my birthday ...

I'M SO PROUD AND TOUCHED AND GRATEFUL AND HAPPY AND --- I CAN'T EVEN FIND ANY MORE WORDS TO SAY HOW AMAZING IT FEELS LIKE TO HAVE A BEST FRIEND LIKE HER.

So my birthday came and went. Kathleen Carriedo [SUPER KAWAII GIRL and my SOUL SISTER] promised me a gift.

I knew it was going to be a photoshopped picture and I knew it was going to be good.
But what I didn't know what HOW GOOD it was going to be.

[Click to enlarge]

I'm supposed to be the one with the bear slippers and she's the one in the blue dress.

You see, back in our second year of high school, I started calling her dolly. Hence, the doll-like look. That's because she was soooo KAWAII \[>.<]/ and as petite and as huggable as a doll <3

She calls me Bear. HOHOHO Hence, (obviously), the bear-like outfit.

I feel so blessed to have crossed paths with her!

*I love you dolly-chan <3*


Wednesday, May 23, 2012

Kawaii Strawberry Nail Art

Kon'nichiwa min'na :3

I just looove the smell of strawberries (Although I don't really like eating it xD hohoho)
but .... I do like the way it looks <3

[Image not mine]


Soooo, I figured, why not make a strawberry nail art tutorial? I did find youtube very useful in doing this nail art though. So if  you want detailed steps, then click here.

WHOOPIIEEE :D haha

It's going to be really easy and fun!
It's best to do this when you're calm and not in a hurry though.


Here are the materials I used: 


L-R:

*02 (Base Coat)

*Face It Top Coat

*Striper


So obviously, remove any nail polish  you have on your nails. 
Trim and file your nails  if you have to. 

Then, apply your basecoat on your nails.

Next, brush on however much coats you want of a luscious red nail polish.

[Click to enlarge]

Then, using your striper and your green polish, make an outline of the strawberry's leaves near the base of your nails. To do this, dab some green polish on a palette, tissue, paper or anywhere and dip your striper in it.


It should look like this. It doesn't have to be perfect.


You then have to fill in the outline with your green polish.


Don't be too concerned about creating perfect jagged lines for your leaves. It's better when done a bit randomly.


Using your striper or a toothpick, pick up some yellow polish and make short vertical lines below the leaves.


Do this with your other hand. Be careful though. If you're right handed, then doing it on your left hand will be very easy but if you're not that good with using your left hand to do your right hand, then you may find it a bit hard to do this so, take your time and do it slowly. 


Finally, brush on some topcoat and YOU'RE DONE! :D 
You can also try doing this with a matte finish. I'm sure that'll be very cute too!


[I ruined my middle finger .... must have hit it with my nails accidentally -.-]


Now, wasn't that easy?
HAHA :D NOW YOU HAVE KAWAII STRAWBERRY NAILS :D


Friday, May 18, 2012

Gradient Nail Art with Konad Stamping Nail Art

HEY HI HEY HI HEEEY :D

Three days ago, on our trip to CDO, I saw this awesome rainbow. (I just love rainbows) Because of that, I thought about doing gradient nails! I have these really cute pastel colours that I rarely get to use and I thought that this would be the perfect time to use them since summer is almost at its end and when school comes, I'm not going to be able to wear nail polish T_T (But I'm still going to wear them on weekends though)

[Please forgive the lack of photos and detailed steps ... again, I was alone the time I did my nails and I had no one to help me take photos T_T]

Here are the stuff I used: (You can click on the images for a bigger version of them)
L-R:
*The Face Shop 02 (Base Coat)
*TFC WH002
*TFC PP401
*TFC GR501
*TFC YL701
*TFC BL601
*Konad Special NP Black
*Konad Top Coat
*Stamp
*Scraper (I don't use the Konad scraper because it damages the plates. I use discarded gift cards or whatever is strong enough to swipe away extra nail polish)
*Sponge (I tried using the gradient sponge I got from Etude [the one I used in my Galaxy Nail Art] but it had big holes and it showed when you dab it on your nails so I used a regular sponge instead -- the one you use for make-up.)
*Konad Image Plate m57 (Leopard)


First and foremost, remove any nail polish you have on your nails 

(I had my nail water slide decals on) It was a handful to take off with just a cotton ball and some acetone T_T I had to do a lot of rubbing, sooo .... I decided to use the foil method (which I'm going to make a post about soon). After 5 minutes, it all came off nice and easy <3 YAY FOR THE FOIL METHOD :D 

Do your nail care routine -- apply your nail nourishers, trim and file your nails but don't push or cut your cuticles! (I'm going to make a post about that too) 

Here's what I always use to harden my nails:
I got it from Etude.


Brush on your base coat and let it dry. Apply one or two coats of white nail polish. It doesn't have to be perfect, nor does it have to be completely opaque. It'll just help bring out the colour of the nail polishes you're going to be putting on as a gradient since it's going to be really sheer.

On a tissue, palette, paper or anywhere you want -- put two to three drops of your nail polishes.


Grab your sponge (Use tweezers for better gripping) and dab it on your first colour (the one that's going to be placed near your cuticles). Mine's purple. 

Then, dab it lightly on the base of your nails. You don't want to dab to hard, it'll become very opaque. work your way to the middle of your nail and while you do, dab lighter and lighter to create that fading effect.

Next, dab you sponge on your second colour that'll be placed in the middle of your nail. Mine's going to be a greenish-blue. Like before, dab it lightly on the middle part of your nails and work your way slowly to the tip of your nail.

Repeat with your third colour. Mine, obviously, is yellow.

You can apply some shimmer if you want to. If not, then lightly apply a very thin coat of top coat to even out the nail polish. (It'll bulge all around because of the dabbing technique)


If you want to keep it that way, then brush on some top coat and you're done (if you added some shimmer), but if you didn't add some shimmer and instead added some top coat, then you're done just like that. If you want to proceed to the stamping nail art part, then don't brush on some top coat.

[Again, I'm so sorry about not having much more detailed pictures to show you]

With your Konad image plate m57, stamp and scraper, apply the Leopard print on your nails. Remove the excess nail polish on the sides of your nails and on your cuticles. Then, lightly apply some top coat so as not to smudge your nail art design.


And voila! You're done. It's so easy but it does leave a mess though. xD


That's all for now, check back for a post on my nail care routine and about the foil method :D


Thursday, May 17, 2012

Shocking: Kracie Artificial Mini Fastfood

HAAI! :D

I came across this video in dailyviral.com.


I was so shocked. I mean, this HAS to be unhealthy. It just has to be. 

How can french fries produced out of water and powder ever be healthy or have no effect on the body?
It's 96 calories. That from these miniature edible killers, I'm pretty sure you don't get a full stomach just by eating this. You'd end up eating more and torturing your body more.

It's just wrong and scary.
I mean, if  you want fries or a burger, go to a REAL fast food restaurant, better yet, MAKE YOUR OWN FOOD! That way you're sure it doesn't poison you or give you cancer or something.

Japanese people are brilliant but this is just too much.


Eat an apple. It'll be 100x better than whatever this is going to give your body.

-Inah <3

Tuesday, May 15, 2012

Summer Getaway: Malapascua Island, Cebu

HI HI HI :D
I know I promised you guys a post about Stamping Nail Art.
But ...

This morning I was just looking at some pictures we [me and my parents] took during our stay at Malapascua Island, Cebu over a month ago (I know it's really late to do so, but I still want to share it with you guys)

Malapascua Island is only about 2.5 km long and 1 km wide. It's situated at the very tip of Cebu. They acquired electricity back in 2009 and is now a popular tourist spot in the Philippines. (But there are only so little people in the island, especially tourists -- I guess it's still building up its name)

We stayed in Cebu for about 3 days and on the 4th day, we departed to Malapascua. To get there, we rode a bus at 5 in the morning to get to the tip of the mainland of Cebu. From there, we took a 30-minute long pump boat ride towards the island itself.

We stayed at Malapascua Legend, a cozy, yet sort of modern resort just fronting the beautiful crystal clear green waters of Malapascua Island. For a reasonable price, you get to chill in the most comfortable and spacious resort there is in Malapascua. The rooms are awesome (I can't show you pictures because I didn't take some pictures of the room -.-) although at peak season, especially now that it's summer, it's pretty hard to book a suite. If you're planning to go, you should call the resort and ask for a reservation. They get fully booked a lot of times.

 There's a very nice pool you can jump into any time you want. (I'm not really a huge fan of pools. I hate the smell of chlorine. Yes, the pool was heavily chlorinated, but eitherway, it still rocked.)


The shoreline is astounding! 
It's so fine and white. Not the best in the Philippines, yes, but I have to say that it's really something worth digging your hands into. 
[Taken near sunset.]


They place chairs and tables about 35 feet away from the water when it's almost dinner time to create a relaxing and romantic vibe for tourists.


We went boating around the island while stopping occasionally to go snorkeling at some diving spots in the island.


The people who helped make the boating trip possible. They speak English very well :D Don't stereotype! :3


THIS KID IS FEARLESS. On the other side of the island, waves came hurdling towards us like tornadoes yet he just sat there, as if untouched by the possibility of death º_º


We got back to Malapascua Legend just in time for dinner but we didn't eat there considering our lunch experience was only satisfactory. It wasn't great, just ok. So, we decided to explore the island a bit more while scouting for more restaurants on foot. 

We ate dinner at this other resort [forgot the name]. THE FOOD WAS AWFUL. I'm sorry, I just had to say it. Everywhere you go, the food's just not that good. You'd think that since it's an isolated island with rich sea life, they'd serve a variety of seafood in their restaurants. That wasn't the case. We HARDLY saw any seafood there. I guess it's because they focus mostly on European and American style food because that's where most of the tourists are from. It's frustrating to think that they can't even cook a decent Filipino dish when they're from and in the Philippines. -.- The service was awful too! I mean, the local waiters have this accent that would make you think they're being sassy or disrespectful or something. I don't know. I think it's because they're isolated from the modern world.

Every where you turn to, you see Germans and Koreans. Germans and Koreans. Germans and Koreans, Chinese, German, American, American, British, Australian, Chinese, Dutch?, Korean, Korean, Korean, Chinese, OH LOOK FINALLY! May mga pinoy din!

My gosh. It was like Filipinos were endangered tourists there. It's so sad to think that Filipinos -- even a lot of Cebuanos haven't gotten a chance to visit the lovely island. I have nothing against the tourists though. I thank them in fact. Not only because they give the nation extra income but because they liked peace and quiet and because of that, we got the peace and quiet we went there for too. xD

Even though the food was terrible and I got baked by the heat, it was all worth it. We had a super great time and my parents really relieved themselves of some major stress.

After 2 days of our stay, we went back to the mainland and rented a car to drive us all the way back to Mandaue City.


Although it's a really beautiful island, I still think Bohol has the best beaches in the Philippines [I may or may not make a post about our trip there a week ago soon, we'll see]. They say the best Philippine waters to dip your toes in is in the island of Boracay. I haven't been there yet because my parents think the place is too wild and liberated. I agree xD Why spend 10% more in Boracay when you could keep your 10% and still have the best Philippine beach experience at Bohol? (The sand will make you want to burry your face in it) Think about it.


That wasn't all of it but that pretty much summed up the important parts of our trip to Malapascua.
Till' next time :D
[Which will be soon :D ]


Sunday, May 13, 2012

First try at NAIL WATER SLIDE DECALS

Benvenuto :D
How's it going guys?

So yesterday, I got really upset :(
When I got home, I immediately went ahead and grabbed my nail stuff toolboxes.
The moment my hands touched the handles, I felt much better.
And when I started applying nail polish on my nails, I felt 15 times better than better and I've forgotten why I was upset in the first place. :D

Not to be shallow, but doing my nails always makes me feel better.


Last night, I only did a manicure. I don't do pedicures because ....... I don't know, I just don't lol xD

I used Orly Haute Red
and Dior Vernis Topcoat.


At first I was sooo happy about my mani, I mean the application was flawless and the topcoat made it mega shiny, but then I felt a bee in my hair and I freaked out (super true story -.-) and I ruined a perfectly good manicure because of a stupid bee T_T.

So today, I decided to use one of my three nail water slide decals.
(This is my first time applying a water decal on my nails, so be prepared for noobness and imperfection.)


Here's the design I used.


Here are the rest of the stuff I used: (What's in the little container? Water :) That blue thing that looks like a popsicle stick is actually a nail file [it came with the decal]. ) 


First off, remove any nail polish you have on your nails (if you have any), if you don't, then just rub a cotton pad/ball with acetone on your nails just to be sure it's clean and nail polish-free :)

I was wearing red nail polish, hence the red marks on the tissue. xD


Cut the decal into pieces/strips.


Dip a strip in water for about 20 seconds. (Use tweezers for better gripping if you want to.)


(I was alone while doing this so I wasn't able to ask for some help in capturing the photos which means I can't show you what I did in steps that require two hands :[. )

Detach the decal from the paper and place it on your nail. Adjust it so that it fits your nail well.


Put some top coat over the decal after you've placed it well on your nail. Then, take your nail file and file your nail. If you prefer using a toothpick, then rotate your toothpick in either a clockwise or counter-clockwise direction and trace the tips of your nails. It'll come right off.


Don't over-do the top coat. Here's what happened to my ring finger when I put on too much top coat and brushed hard T_T.


Repeat the steps on the rest of your nails and voila! You're done!
Although I ruined my ring finger,  I'm still very happy with the results. I think I'm going to buy some more of these :D


Oh and here are random images I took of a plant in our house (I don't really know its name) that started blooming tiny flowers and these miniature tomato-like [fruits?] I absolutely love plants T_T :D teehee lolololololol


That is all for today :D Next time, I'm going to be doing a post on Konad Stamping Nail Art. 

Check back soon :D